A forum for owners of Yamaha TTR250 trail and enduro bikes!

| Post Info | TOPIC: Two TTR's..Both Blue OE - Not Same | ||||||||
|---|---|---|---|---|---|---|---|---|---|
|
|
|
||||||||
|
Super Guru

|
|
||||||||
|
Veteran Member

|
|
||||||||
|
Super Guru
|
|
||||||||
|
Veteran Member
|
|
||||||||
|
Super Guru
|
|
||||||||
|
|
|
||||||||
|
Super Guru
|
|
||||||||
|
Veteran Member
|
|
||||||||
|
Super Guru
|
|
||||||||
|
Super Guru
|
|
||||||||
|
Veteran Member
|
|
||||||||
|
Super Guru
|
|
||||||||
|
Super Guru
|
|
||||||||
|
|
|
||||||||
|
|
|
||||||||
|
|||||||||
 .
.


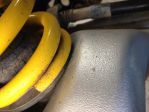
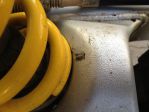

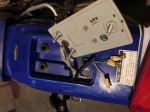
 I cant believe that is a photo of your suspension link, mine has 13 years of crud on it your looks brand new
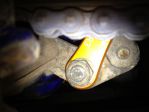

|
|
||
